We create wallpaper based on custom measurements provided at the time of order, ensuring a perfect fit for your wall. Since most walls are not perfectly straight, it’s essential to measure the wall at multiple points and always use the largest measurement for both length and height. We recommend adding an extra 10-15 centimeters to the wall dimensions to allow a safety margin that will be helpful during installation.
Easy Installation with Bubble-Free Adhesive
Our wallpaper is produced according to your specific measurements. Each sheet is numbered in the order it should be installed and includes alignment marks for correct and easy installation.

1
Surface Preparation
As a first step, you must remove any old paint or wallpaper.
Prepare your wall by filling in any cracks, small holes, and irregularities, as these would be visible once the wallpaper is installed.
Use a lamp to carefully inspect the wall and ensure it is smooth and even.
Wash the surface and make sure it is clean and smooth.
If the wall is absorbent (such as plaster walls, walls with old wallpaper, drywall, or similar), apply a coat of primer or diluted glue to limit glue absorption during installation.
If the wall has strong colors or color variations that may show through the wallpaper, apply a coat of white paint.
Begin installation only after the wall is completely dry.

2
Wall Treatment
Before applying the film, a coat of clear dust-repellent fixing primer must be applied.
If the wall is very porous (such as plaster walls, drywall, or similar), two coats of primer should be applied.
Do not install on damp walls or those with mold.
Use a colored primer if the wall has strong colors or color variations that might show through the wallpaper.
Begin installation only after at least 24 hours of complete drying.

3
Reference for the First Sheet
The first sheet is crucial for ensuring a correct installation.
Try to be as precise as possible to ensure it is mounted straight.
To achieve this, make a barely visible vertical line or markings with a pencil at a distance of 60 cm (first measure your roll, as the measurement may slightly differ) from the start of the wall, using a level or measuring tape.
You will need to install the first sheet according to your references.
Remember to keep the marks light to avoid them showing through the wallpaper.

4
Positioning the First Sheet
Place the first sheet on the wall, following the previously made lines.
Secure the sheet in the desired position using masking tape.
Place a strip of tape horizontally across the entire width of the sheet, about 30 cm from the top edge.

5
Installation First Step
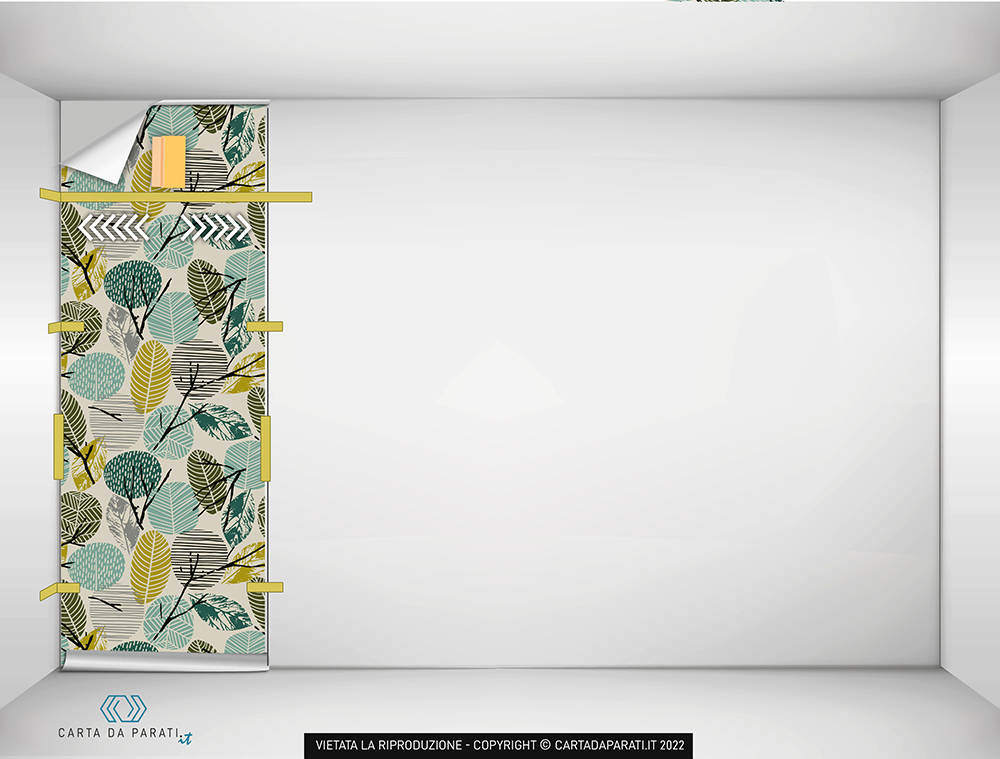
Once the sheet is in position, separate the adhesive film from the release paper up to the height of the tape, allowing it to fold back on itself.
Trim any excess release paper.

6
Installation Second Step
Begin the application by pressing the film from right to left (and vice versa) with the spatula to adhere the paper to the wall.
Start from the center to allow the air to escape.
Begin from the area just above the masking tape up to the top edge.

7
Installation Third Step
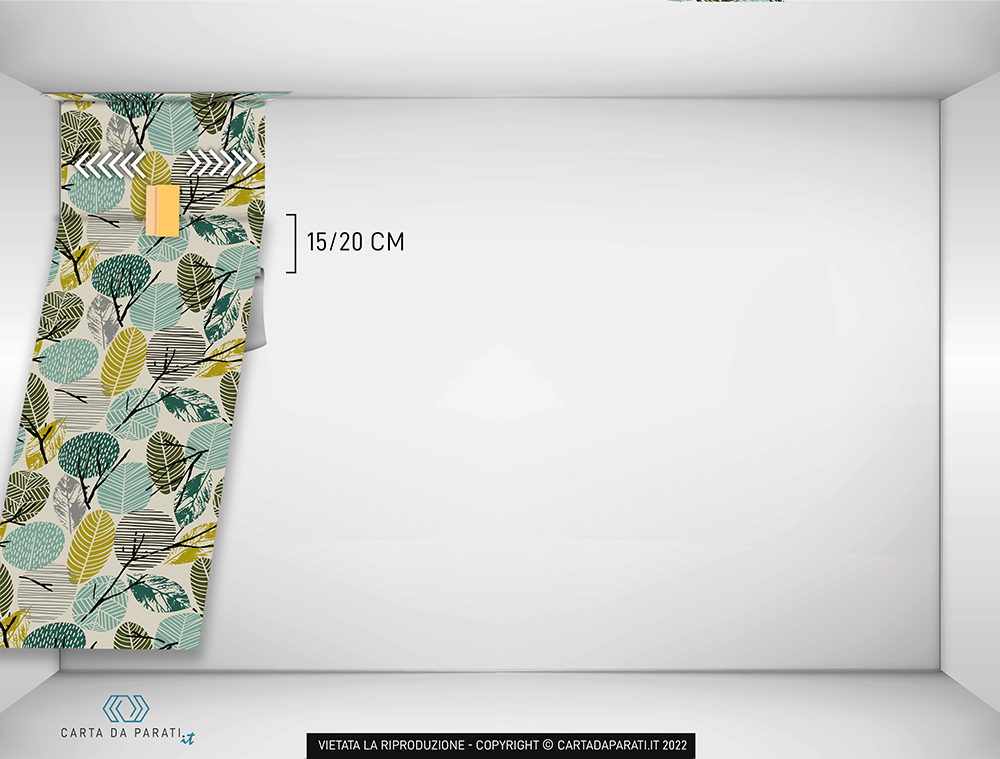
Remove the masking tape (the film will hold itself in position).
Lift the remaining part of the sheet and peel back the release paper by about 15-20 cm.
Reposition the paper in the previous position and continue the application downward.
Continue the application by rolling back the release paper by 15-20 cm at a time until you reach the end of the sheet.

7
Installation of the Other Sheets
Place the second sheet following the same procedure as the first (step 4), ensuring that the image aligns with the previous sheet.
Note: Each sheet should overlap the previous one by about 1.5 cm, rather than being placed side by side.
Each sheet (except for the last one) requires an overlap.

8
Overlap Markings
Each sheet requires an overlap of 1.5 cm. The overlap indicators are located on the left side of the sheet at both the top and bottom.
Use these markers to better align the panels with the graphics.

9
Applicazione ultimo foglio
Install the last sheet following the same procedure as the previous sheets.
In this case, also press the excess of 2-3 cm towards the corner of the other wall.

10
Trimming Excess Material
Trim the excess material using a spatula or a wallpaper ruler to press the top and bottom edges.
Cut carefully with a sharp utility knife to avoid tearing or fraying the wallpaper.


